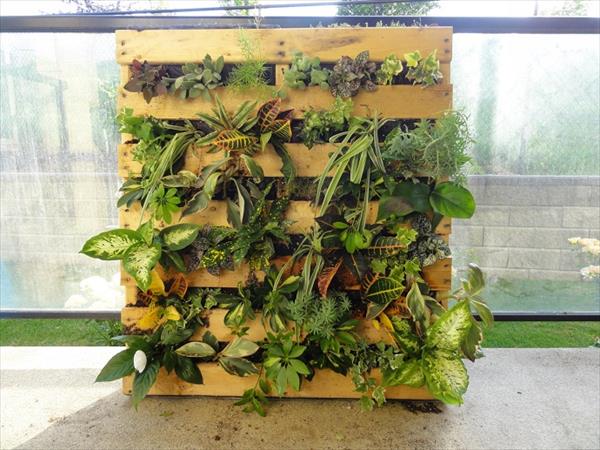
10 Pallet Vertical Planter
Find some pallets vertical planter in good condition. They have different shapes and sizes. Clean the pallet of all nails and stuff. Before adding a weight place it next to the wall. Align it and using L bracket hang it. Mark the location and place it back on floor.
Place the pallet with the widest openings facing up. Cover the back and bottom and cut to size. Place securely with nails or staples. Some pallets have wood covering the bottom of the pallet, which will help prevent soil from falling out the bottom. Make sure that the fabric covers the bottom and the back to prevent soil from falling out. You may add a thick layer of plastic as protector. Make it firm by attaching the thin plywood.
After turning the pallet over, start filling with good quality potting soil. Avoid using ordinary garden soil. Add most of your soil before adding the plants. Start tilting the pallet up almost vertical to let soil to settle. Keep filling until it is full. Now add the plants so that their root balls are securely placed between the slats. Add additional soil. Don’t water yet
Mount the pallet with two helpers and position the pallet between the already secured brackets. It can help to rest the pallet while it is being secured to the wall. The third person can attach the brackets to the pallet.
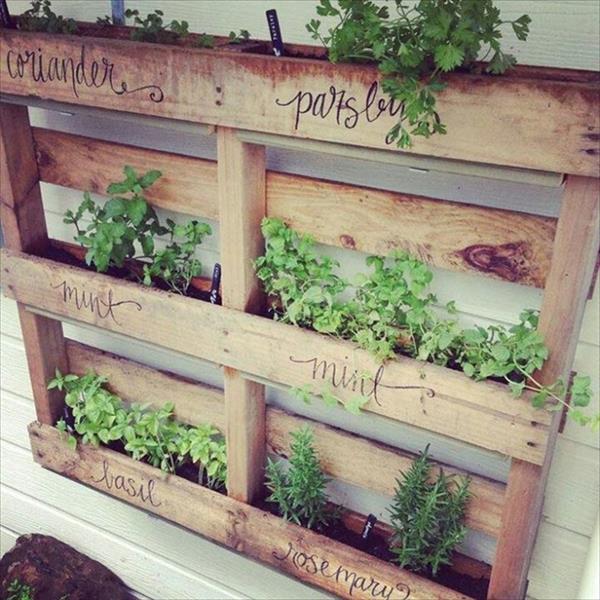
Finally, confirm that the plants are firm and that the roots are in contact with the soil. Add the reserve soil to fill those voids. Water the plants and soil. Have some extra soil on hand and add as necessary. Put in some greens, herbs and edibles. Secure the final product, and water it.
Keep an eye on the garden and add soil and water as the plants establish and soil continues to settle.
Enjoy the gardening.